Diagnostic table, stock allowances by material, and a decision guide for fixed vs. adjustable vs. custom reamers — based on verified technical sources.
Why Reaming Is the Operation Where Mistakes Cost the Most
Reaming is a finishing operation that removes a few tenths of a millimetre from the wall of a pre-machined hole to bring it to final tolerance and surface finish. The material removed is minimal — typically between 0.1 and 0.3 mm on the diameter [1][2] — but the consequences of an error are severe: an out-of-tolerance hole at the end of the cycle means a scrapped part or costly rework.
Compared to drilling (IT10–IT12 tolerances), reaming achieves IT7–IT8 with surface roughness Ra 0.4–1.6 µm [1][3]. But this result is not automatic: it depends on the quality of the pre-drilled hole, the stock allowance left, the cutting parameters, and tool alignment. This article provides an operational guide to diagnosing the most common defects, selecting the correct stock allowance by material, and deciding which type of reamer to use.
Stock Allowance: How Much to Leave by Material and Diameter
The stock allowance is the amount of material the reamer must remove. Too little, and the tool rubs instead of cutting, causing accelerated wear and an undersize hole due to springback [2][4]. Too much, and excessive forces are generated, chip evacuation becomes difficult, and oversize is a real risk [5].
The most common rule of thumb is: pre-drill to 2–3% below the final reamer diameter [2][6]. For a Ø10 mm hole, this means drilling to Ø9.70–9.80 mm. However, the optimum value varies with material: aluminium and brass tolerate (and require) larger allowances than steel or stainless steel [5].
The following table shows the recommended stock allowances (on the diameter) for the most common materials, derived from the guidelines of leading reamer manufacturers [2][5][6].
| Material | Hole Ø 6 mm | Hole Ø 12 mm | Hole Ø 20 mm | Hole Ø 30 mm |
| Low carbon steel (C15–C45) | 0.12–0.18 mm | 0.24–0.36 mm | 0.40–0.60 mm | 0.60–0.90 mm |
| Alloy steel (42CrMo4, 4140) | 0.12–0.18 mm | 0.24–0.36 mm | 0.40–0.60 mm | 0.60–0.90 mm |
| Stainless 304/316 | 0.10–0.15 mm | 0.20–0.30 mm | 0.35–0.50 mm | 0.50–0.75 mm |
| Grey cast iron (GG25) | 0.12–0.18 mm | 0.24–0.36 mm | 0.40–0.60 mm | 0.60–0.90 mm |
| Aluminium (6061, 7075) | 0.15–0.24 mm | 0.30–0.48 mm | 0.50–0.80 mm | 0.75–1.00 mm |
| Brass (CuZn39Pb3) | 0.15–0.24 mm | 0.30–0.48 mm | 0.50–0.80 mm | 0.75–1.00 mm |
Table 1 — Diameter stock allowance for finish reaming with carbide reamers. Values based on the 2–3% rule [2][5] and calibrated by material class per Cutting Tool Engineering [5] and Gammons Hoaglund [2].
Practical note: for austenitic stainless steel (304, 316), stay at the lower end of the range. A chip that is too thick generates heat, the material work-hardens, and the reamer wears rapidly [5]. For aluminium, by contrast, a larger allowance is tolerated and often necessary to avoid burring [7].
Cutting Parameters: Speed, Feed and Coolant
Two basic rules: the reamer runs at approximately half the speed of the drill and feeds at twice the feed rate [2][8]. Running too fast causes accelerated wear and risks an oversize hole; too slow a feed causes the tool to rub instead of cut, degrading both surface finish and tool life [2][4].
Studies by Lagoa Melo et al. on hardened AISI P20 steel confirmed that cutting speed is the most critical parameter for surface roughness and axial force, while feed rate primarily affects torque [3]. Bezerra et al.’s study on aluminium-silicon alloy SAE 322 showed that shallow depths of cut (0.2–0.3 mm) and moderate cutting speeds yield the best overall results in terms of roughness, roundness, and cylindricity [7].
| Material | Vc (m/min) | f (mm/rev) | Expected Ra (µm) | Coolant |
| Carbon steel C15–C45 | 12–30 | 0.10–0.40 | 0.4–1.6 | 8–10% emulsion |
| Alloy steel (42CrMo4) | 10–25 | 0.08–0.30 | 0.4–1.6 | 8–12% emulsion |
| Stainless 304/316 | 8–18 | 0.05–0.20 | 0.8–1.6 | Neat oil or 10–12% emulsion |
| Grey cast iron | 15–35 | 0.15–0.50 | 0.8–2.0 | Dry or emulsion |
| Aluminium (6061/7075) | 40–90 | 0.15–0.50 | 0.2–0.8 | Emulsion or neat oil |
| Brass | 30–75 | 0.15–0.50 | 0.4–1.0 | Light emulsion |
Table 2 — Starting parameters for carbide reamers with through-coolant. Sources: Rock River Tool [6], Cutting Tool Engineering [5], Lagoa Melo et al. [3], Bezerra et al. [7].
Coolant: on stainless steel, MQL (Minimum Quantity Lubrication) has shown better roundness results, while conventional emulsion is superior for torque control [3]. On carbon steels, 8–10% emulsion remains the safest choice. On aluminium, neat oil reduces built-up edge (BUE) and allows Ra finishes below 0.4 µm [5][7].
Diagnostic Table: Symptom → Cause → Corrective Action
The quality of a reamed hole is not measured by surface roughness alone. Diameter, roundness, straightness, cylindricity, and concentricity are all critical parameters [9]. A hole with Ra 0.8 µm but 0.02 mm out of round will not accept an interference-fit bearing. The following table covers the 8 most common reaming defects, with documented causes and corrective actions.
| Symptom | Probable Cause | Corrective Action |
| Oversize hole | Spindle runout > 0.01 mm; excessive speed; reamer-hole misalignment | Check TIR (target ≤ 0.01 mm); reduce Vc; use floating toolholder or guide bushing |
| Undersize hole | Insufficient stock (reamer rubs instead of cutting); elastic springback; worn reamer | Pre-drill to 2–3% below final diameter; check cutting edge wear; on steels, slightly increase stock allowance |
| Tapered hole | Excessive runout; reamer with excessive back-taper; uneven cutting edge wear | Regrind the reamer; check spindle-toolholder concentricity; replace reamer |
| Bell-mouth hole | Reamer not guided on entry; initial runout before the tool stabilises in the hole | Use a piloted reamer or guide bushing; increase entry chamfer length; reduce tool overhang |
| Poor finish (Ra > 1.6 µm) | Built-up edge (BUE); cutting speed too high; feed too low | Increase coolant concentration; reduce Vc; increase f (the reamer |
| Oval hole (lobbing) | Inadequate clamping; vibration (chatter); straight-flute reamer on hard material with hardness variations | Re-clamp the workpiece; use unequal-pitch reamer; increase f and reduce Vc; switch to helical flute |
| Premature tool wear | Excessive stock allowance; speed too high; inadequate coolant; misalignment causing eccentric loading | Reduce stock allowance; reduce Vc; check coolant flow and concentration; check alignment |
| Tool breakage | Excessive stock allowance; feed too high; chip packing (blind hole); severe misalignment | Reduce stock allowance and feed; on blind holes use left-hand helix for evacuation; check clamping |
Table 3 — Reaming defect diagnostics. Sources: Gammons Hoaglund [2], Hannibal Carbide [4], Super Tool [8], TiRapid [10].
Runout (TIR) is enemy number one. Spindle or toolholder TIR exceeding 0.01 mm is enough to produce oversize, tapered, or bell-mouthed holes [4][10]. The first check to make when reaming “is not working” is to measure runout with a dial indicator — not to change the tool.
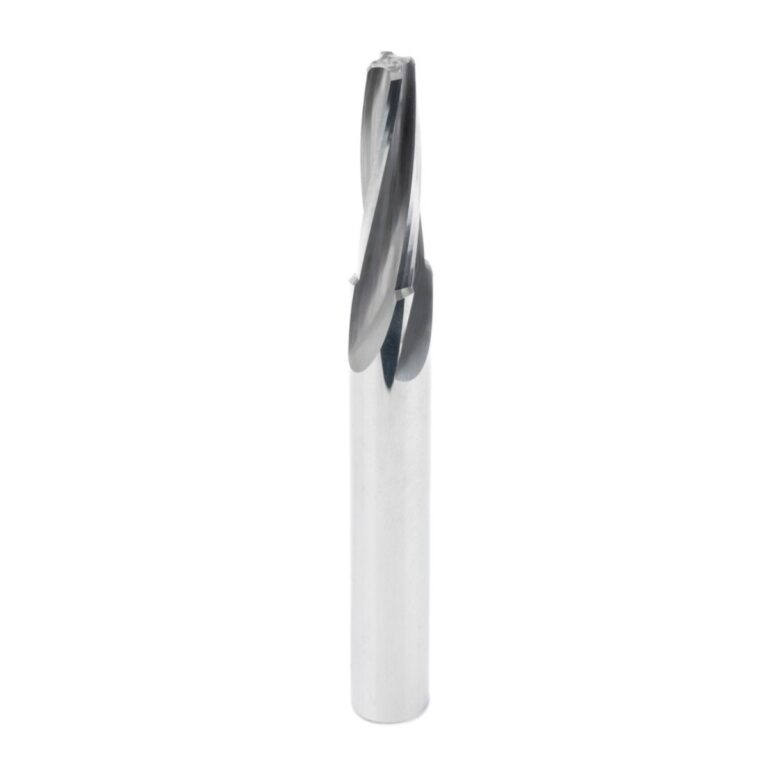
Straight vs. Helical Flute: When to Use Which
Straight-flute reamers offer maximum rigidity and are the default choice for through-holes in cast iron, bronze, and brass [4]. However, on ductile materials (mild steels, aluminium) they tend to produce lobed holes when material hardness varies [9].
Helical flutes (typically 15°–30°) draw the chip axially, improving evacuation in blind holes and long-chipping materials [4]. Studies on AISI P20 confirm that helical reamers reduce surface roughness and axial force compared to straight-flute versions, due to better chip evacuation [3]. Note: right-hand helical flutes may cut slightly oversize due to their aggressive geometry [4]. For blind holes, prefer left-hand helix with right-hand rotation.
For interrupted holes (keyways, cross-holes), helical flutes are virtually mandatory: they bridge the interruption without shock loading [2][4].
Fixed, Adjustable or Custom: A Guide to Reamer Selection
The choice of reamer type depends on the required tolerance, production volume, need for wear compensation, and hole geometry.
| Criterion | Solid carbide (integral) | Brazed carbide | Adjustable | Custom to drawing |
| Achievable tolerance | ±0.003–0.005 mm | ±0.005–0.010 mm | ±0.005–0.010 mm (adjustable) | Up to ±0.002 mm |
| Tool life | Very high | High | High (compensable) | Designed per application |
| Initial cost | Medium-high | Medium | Medium | Variable |
| Resharpenability | Limited (diameter decreases) | Yes, with attention to brazing | Yes + expansion to compensate | Yes, per design |
| Ideal for | High-volume runs, high Vc, abrasive materials | Large diameters, medium-volume runs | Long runs with wear compensation requirements | Stepped holes, special profiles, multi-diameter |
| Limitation | Fixed diameter, not adjustable | Less rigid than solid carbide | Requires adjustment setup | Design lead time |
Table 4 — Reamer type comparison. Sources: MAPAL [11], Gammons Hoaglund [2], Hannibal Carbide [4].
When standard is not enough. Stepped holes, holes with integrated countersinks, non-standard diameters, holes with combined tolerance and roughness requirements across multiple features: in all these cases, a standard reamer forces multiple operations and tool changes, with cumulative error build-up. A reamer designed specifically for the part can consolidate operations and reduce cycle time, with more repeatable results.
Pre-Reaming Checklist: 8 Checks Before Pressing Start
- Measure spindle + toolholder runout (TIR): target ≤ 0.01 mm
- Check the pre-drilled hole diameter: stock allowance = 2–3% of the final diameter
- Check the straightness of the pre-drilled hole: if the starting hole is skewed, the reamer will follow it
- Set Vc and f according to material (see Table 2). Speed: ½ of the drill. Feed: 2× the drill
- Check coolant flow and concentration (critical on stainless steel and aluminium)
- Use cycle G85 (not G83 or G73): the reamer must retract under controlled feed, never rapid
- Workpiece clamping: minimum distortion, maximum rigidity. Thin walls (< 1.5× diameter) = oval hole
- On blind holes: verify chip evacuation clearance. If insufficient, use helical flute + through-coolant
Conclusions
Reaming looks simple, but every variable — stock allowance, speed, feed, runout, flute type — directly affects the result. The difference between an in-spec hole and a scrap part almost always comes down to setup, not the tool.
Three things to take to the shop floor: (1) measure runout before every batch; (2) respect the 2–3% stock allowance for the specific material; (3) use the diagnostic table to trace the real cause of any defect, rather than changing the tool at the first sign of trouble.
When the hole has complex geometry, tolerances below ±0.005 mm, or stepped profiles beyond what standard tools can cover, a purpose-designed reamer is often the most direct route. MadTools designs and manufactures special reamers in solid carbide and brazed carbide, calibrated to the requirements of the process: from single prototypes to high-volume production.
Sources and References
[1] Rapid Protos, “What Is Reaming? Precision Hole Finishing Process & Applications”, 2025.
[2] Gammons Hoaglund, “Reaming Guide” and “Reaming Precautions”, gammons.com.
[3] T.F. Lagoa Melo, S.L.M. Ribeiro Filho, É. Madrilles Arruda, L.C. Brandão, “Analysis of the surface roughness, cutting efforts, and form errors in bore reaming of hardened steel using a statistical approach”, Measurement, Vol. 127, 2018.
[4] Hannibal Carbide Tool, “Reamer Guide — Basic Technical Information for Reamers”, hannibalcarbide.com, 2024.
[5] Cutting Tool Engineering, “Getting reaming right”, ctemag.com.
[6] Rock River Tool, “Reaming Speeds & Feeds — Carbide Tipped”, rockrivertool.com, 2024.
[7] A.A. Bezerra, A.R. Machado, A.M. Souzea Jr., E.O. Ezugwu, “Effects of machining parameters when reaming aluminium–silicon (SAE 322) alloy”, Journal of Materials Processing Technology, Vol. 112, 2001.
[8] Super Tool Inc., “Reaming Problem Solving”, supertoolinc.com, 2022.
[9] M. Wyen et al., “Cost-Effective Surface Quality Measurement and Advanced Data Analysis for Reamed Bores”, J. Manuf. Mater. Process. (MDPI), Vol. 9(3), 2025.
[10] TiRapid, “Technical Guide For Reaming: Processes, Types And Applications”, tirapid.com, 2025.
[11] MAPAL, “Reaming and fine boring”, mapal.com.